Python is the pool of libraries. It has numerous libraries for real applications. One of these libraries is OpenCV. OpenCV is a cross-platform computer vision library. It includes applications such as video and image capture and processing. It is most commonly used in the conversion of the image, the detection of objects, facial recognition and many other impressive applications.
At the end of this article, our goal is to turn the images into its cartoon image. Yes, we are going to make the pictures CARTOONIFY, so we are going to create a Python application that will turn a image into its cartoon image using OpenCV.
Implementation:
- First, we’ll downscale the image, then apply a two-sided filter for a cartoon flavor. Then we scale the picture up again.
- The next step is to get a fuzzy version of the original image. Now we don’t want the colors to interfere with this process. We just want the blurring of the lines. To do this, we first convert the image to grayscale and then apply the media blur filter.
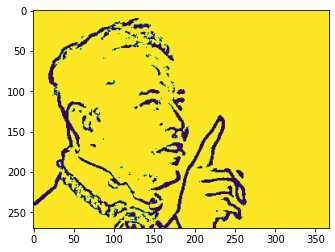
- The next step is to identify the edges in the image and then add them to the previously modified images to create a crayon effect. To do this, we first use the adaptive threshold. You can experiment with other types of threshold techniques as well. Because computer vision is about experiments. In last step we will put together the final images obtained from the previous steps.
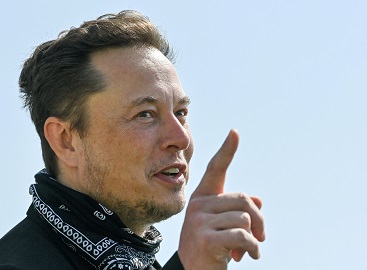
Input Image:
					import cv2
# from google.colab.patches import cv2_imshow
import numpy as np
import matplotlib.pyplot as plt

img = cv2.imread("myimage.jpg")

# 1) Edges
gray = cv2.cvtColor(img, cv2.COLOR_BGR2GRAY)
gray = cv2.medianBlur(gray, 5)
edges = cv2.adaptiveThreshold(gray, 255, cv2.ADAPTIVE_THRESH_MEAN_C, cv2.THRESH_BINARY, 9, 9)

# 2) Color
color = cv2.bilateralFilter(img, 9, 300, 300)

# 3) Cartoon
cartoon = cv2.bitwise_and(color, color, mask=edges)

plt.imshow(img)
plt.imshow(cartoon)
plt.imshow(color)
plt.imshow(edges)
cv2.waitKey(0)
cv2.destroyAllWindows()
Output: